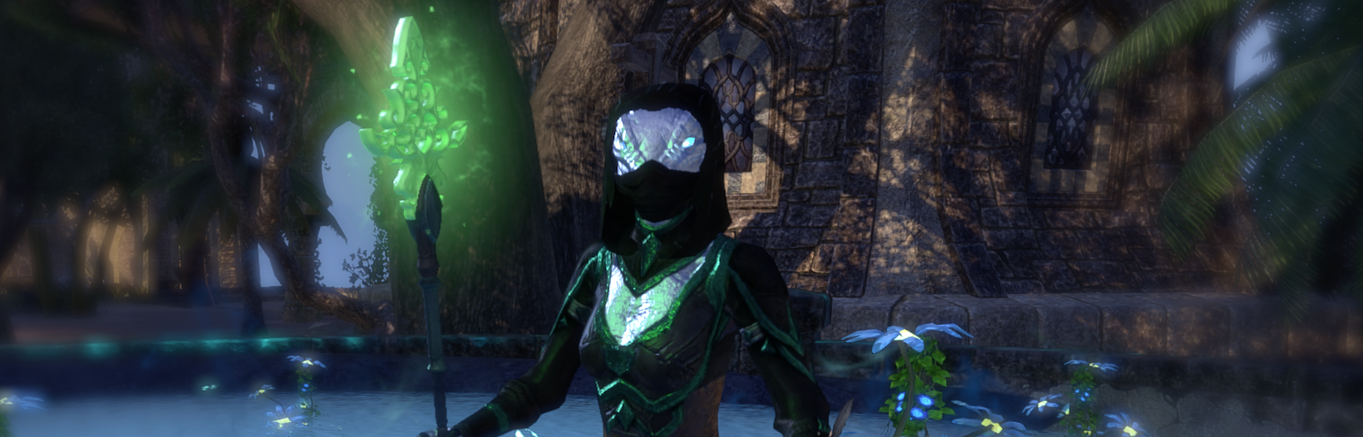
This is an easy and straightforward magicka build for 12-person content in Elder Scrolls Online. Warden’s are a phenomenal class for learning to heal and can be adapted to any content you want to run. This setup uses RoJo (Roaring opportunist and Jorvuld’s Guidance) to keep up major slayer on the group.
Gear
The warden really shines when running Roaring Opportunist and Jorvuld’s Guidance (RoJo), though it is an easy and flexible class that can run as a courage healer (SPC or Olorime’s with Pillager’s Profit). Roaring opportunist only procs off of heavy attacks so it is very important to work two consecutive heavy attacks in to make sure the set procs on all the group members. My typical gear setup is as follows:
| Piece | Set | Weight | Trait | Enchantment |
| Head | Ozezan the Inferno | Light | Divines | Max Magicka |
| Chest | Jorvuld’s Guidance | Light | Divines | Max Magicka |
| Shoulders | Ozezan the Inferno | Light | Divines | Max Magicka |
| Waist | Jorvuld’s Guidance | Light | Divines | Max Magicka |
| Hands | Jorvuld’s Guidance | Light | Divines | Max Magicka |
| Legs | Jorvuld’s Guidance | Light | Divines | Max Magicka |
| Feet | Jorvuld’s Guidance | Light | Divines | Max Magicka |
| Necklace | Roaring Opportunist | Jewelry | Infused | Magicka Recovery |
| Ring | Roaring Opportunist | Jewelry | Infused | Magicka Recovery |
| Ring | Roaring Opportunist | Jewelry | Infused | Magicka Recovery |
| Main Hand | Grand Rejuvenation | Restoration Staff | Powered | Absorb Magicka |
| Main Hand Backup | Roaring Opportunist | Ice Staff | Decisive | Crusher |
Active Skills
Skills can be flexible but below is what I recommend starting with. As always, you can move things around depending on what feels most comfortable to you and what content you’re running.
| Morphed Skill | Unmorphed | Skill Line | Explanation |
| Illustrious Healing | Grand Healing | Restoration Staff | Powerful AoE heal that you should keep up at all times under the group. Buffed by the Grand Rejuvenation Set |
| Combat Prayer | Blessing of protection | Restoration Staff | Strong burst heal that also grants your allies minor berserk and minor resolve. I use this as a spammable. |
| Enchanted Growth | Fungal Growth | Green Balance | Conal heal that also grants additional magic and stamina recovery to anyone healed. Great for group sustain. |
| Energy Orb | Necrotic Orb | Undaunted | HoT that also allows allies to synergize on it. I send this out every 7 seconds to ensure everyone always has an available synergy. |
| Blue Betty | Betty Netch | Animal Companions | Key for your sustain. Also increases your weapon and spell damage, thus increasing the strength of your heals. |
| Reviving Barrier | Barrier | Support | Something to use only in moments when things seem to be falling apart. Most of the time, you’ll be running War Horn. Slotted on the front bar for magic recovery with support skills slotted. |
Back Bar: | |||
| Fetcher Infection | Swarm | Animal Companions | Strong debuff to keep up on enemies and bosses alike. This is critical for the minor vulnerability. |
| Overflowing Altar | Blood Altar | Undaunted | Though at first it looks like this ability damages you, the synergy provides a colossal burst heal to any allies in the area. |
| Budding Seeds | Healing Seed | Green Balance | Great AoE heal for underneath the group or to throw at tanks who are taking big damage. If you hit it again while it’s active, |
| Elemental Blockade | Wall of Elements | Destruction staff | With an ice staff equipped, applies a damage shield and applies minor breach to enemies. |
| Expansive Frost Cloak | Frost Cloak | Winter’s Embrace | Applies major resolve to you and your allies, incredible for reducing damage taken |
| Aggressive Horn | War Horn | Assault | The primary use for this is the major force it applies to you and your allies, which increases critical damage by 20% |
Passive Skills
You should have passive skills for all the skill lines you’re using active skills from, as well as the light armor passives and racial passives for whatever race you’re running.
Champion Points
The green tree is completely up to you for your quality of life and game-play. The blue and red trees are where you are going to see the most significant impact on your healing abilities. I will go over the slottables below:
| Green Tree | Blue Tree | Red Tree |
| Steed’s Blessing Liquid Efficiency Rationer Meticulous Disassembly | Swift Renewal Soothing Tide Hope Infusion Enlivening overflow (flex) | Rejuvenation Fortified Boundless Vitality Celerity |
Race, Mundus, and Food
Race
Honestly this is the least important aspect of your build. You can mostly heal on any race you like. If you want to go with the meta right now, Breton’s will almost always be top tier due to their racial passives prioritizing magicka recovery and cost reduction of skills. Mine’s an Argonian!
Mundus Stone
I will typically use the Ritual mundus stone, since it increases your healing efficacy. If you find you are having trouble keeping up magicka (your primary resource on this build, you can always use the Atronach mundus for the magicka recovery bonus.
Food
Witchmother’s Potent Brew all the way. If you can’t make or find this, try to look for something that increases max magicka, mag recovery, and max health.Race
Using this build
Before you start the trial, you will want to coordinate with the other healer. Ideally, one of you is running a RoJo build (roaring opportunist and jorvuld’s guidance) and the other is running courage. Additionally, you should be using different monster helms.
Additionally, only one of you needs to be running blood altar, flies, and expansive frost cloak. If the other healer is a warden, I would suggest swapping out flies for echoing vigor (from the support skill line, morph of vigor). If the other healer has another source of minor vulnerability, such as the rune of the colorless pool (arcanist, morph of rune of eldritch horror), you should take fetcher infestation off your bar for something else.
For CP, enlivening overflow only needs to be on one fo the two healers. I would recommend swapping out enlivening overflow for from the brink.
Make sure you are keeping up your AoE heals and energy orbs, and make sure there are synergies available to tanks. It is ESSENTIAL to perform two consecutive heavy attacks on your back bar to proc roaring opportunist’s major slayer buff. This ensures that it will apply to all the DDs in the group, as opposed to only half (if you perform only one heavy attack).
Pingback: Templar Healer Build for PvE - Tiptoe Button Gaming
This build provides a clear and effective strategy for healing in group content using the Warden class. The flexibility in skill choices allows players to adapt to their playstyle while maintaining strong healing capabilities. The emphasis on RoJo setup and mundus stones highlights the importance of resource management and healing efficiency. Coordinating with another healer ensures optimal synergy and coverage during trials. Have you considered how this build might perform in smaller group settings?
I wouldn’t use RO for major slayer in smaller content because master architect would provide better uptime. When building out a group for dungeons or arenas, I’d recommend something like Master Architect/ Powerful Assault or SPC/ Powerful Assault with a tank having Master Architect jewels+tools. Just because the uptime would be better. This is really better for if you dont have a DD willing to run a major slayer set! hope that helps
This build seems really well thought out and beginner-friendly, especially for someone like me who’s still getting the hang of healing in ESO. I love how flexible it is, allowing players to adjust skills based on their comfort level. The emphasis on RoJo and coordination with the other healer is a great tip—it’s something I’ll definitely keep in mind for trials. I’m curious, though, how crucial is the choice of race for this build? You mentioned Breton is meta, but I’m wondering if other races like Argonian or High Elf could still perform just as well in most situations. Also, do you think this build would work effectively in smaller group content, like dungeons, or is it strictly for 12-person trials? I’d love to hear your thoughts on adapting it for different scenarios!
Honestly I would recommend either Breton or High Elf. Since the update I’ve been loving my high elf! Argonian can work fine too. Your healing strength (basically the raw numbers) depends on your spell power and spell crit. So higher mag pool= higher spell power= stronger heals! I wouldn’t stress too much about race right now though if you’re just starting out. I’ve made dark elves work as healers for vanilla vet trials (ie. not hard modes). It’s truly the least important factor.